LemonStand Version 1 Has Been Discontinued
This documentation is for LemonStand Version 1. LemonStand is now offered as a cloud-based eCommerce platform.
You can try the new LemonStand and learn about upgrading here.
Creating a giveaway
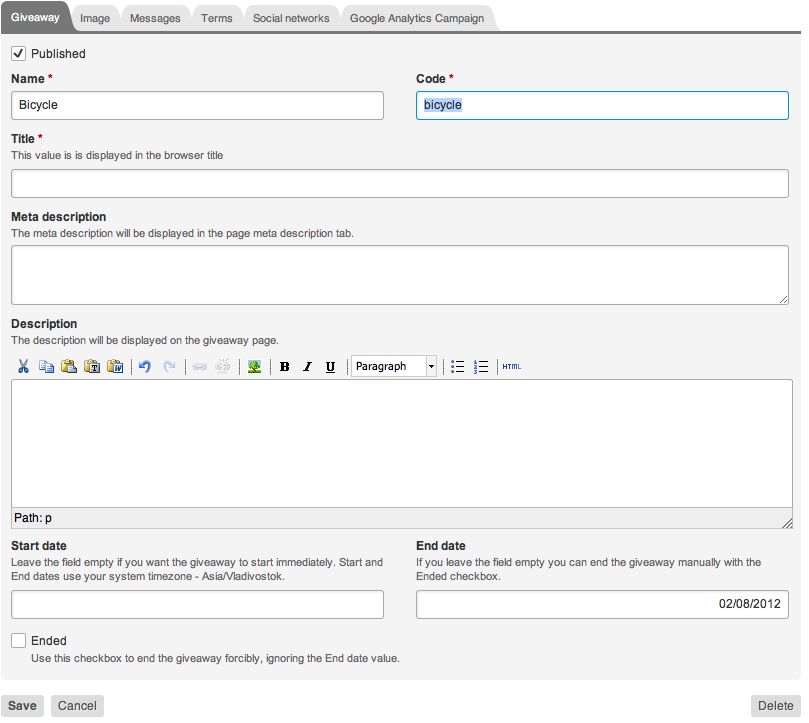
You can manage your giveaways on the Giveaways/Giveaways page. Click the Create giveaway button to create a new giveaway. Fill the form fields.

The Start date and End date fields are optional. If the Start date field is empty the giveaway will start immediately, as soon as you publish the giveaway page. If the End date field is empty the giveaway will run until you end it with the Ended checkbox or the End giveaway button the Giveaway Preview page.
The Giveaway Image field is optional, but using an image is recommended, because can be displayed in social networks share messages.
You can customize the predefined Ended message, Confirmation message and Registration email template on the Messages tab.
The Terms field is optional. If it is filled, entrants will be required to check the "I agree" checkbox before they can sign up.
If you are going to use social network buttons, it is recommended to populate social network messages on the Social networks tab. You can use {share-url} variable in the messages. It will be replaced with the actual entrant's Share URL. Please note that Twitter (and perhaps some other social networks) appends the Share URL to the message automatically if the URL is specified in Open Graph tags, so if you use Open Graph tags, make sure that the URL doesn't repeat in the social network messages.
Populate fields on the Google Analytics Campaign tab if you want to add Google Analytics campaign tag to Share URLs. You should create the Google Analytics campaign first.
Click the Create button. You can update the giveaway settings later.
Next: Creating the giveaway page
Previous: Getting started with the Giveaway module
Return to Giveaway module
