LemonStand Version 1 Has Been Discontinued
This documentation is for LemonStand Version 1. LemonStand is now offered as a cloud-based eCommerce platform.
You can try the new LemonStand and learn about upgrading here.
Installation Steps
Thanks for choosing LemonStand and let us guide you through your installation.
Before getting started read these instructions on setting up your server for Lemonstand and the system requirements
1. Terms and Agreement
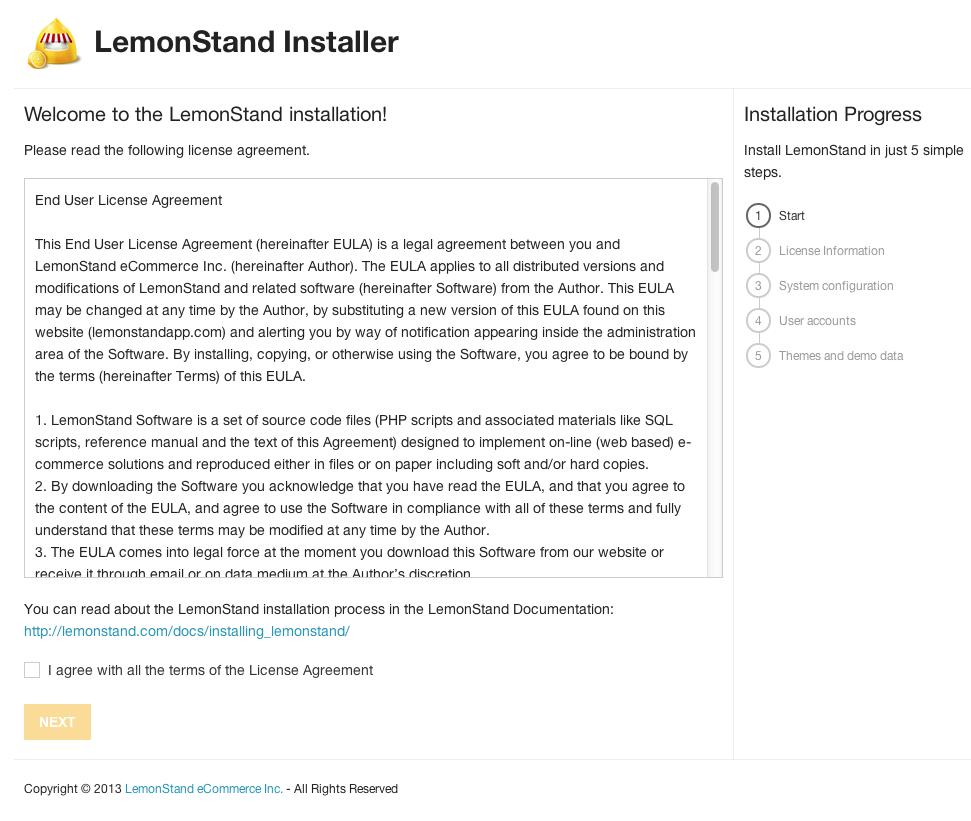
After reading the End User License Agreement (EULA) check the "I agree" checkbox and hit next to continue on with the installation.
2.License Information
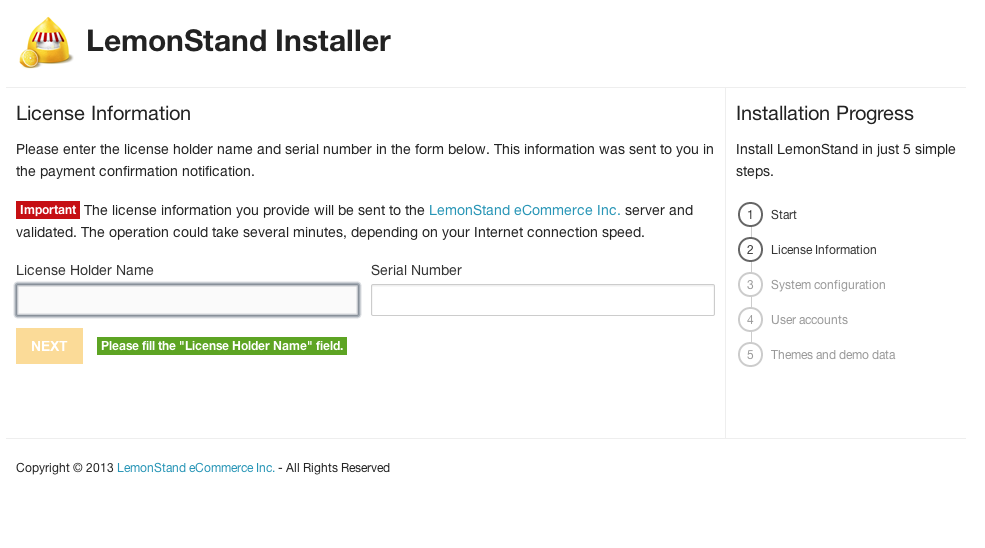
Enter license holder name, serial number. This can be found in /myaccount/ under licenses.
3. System Configuration
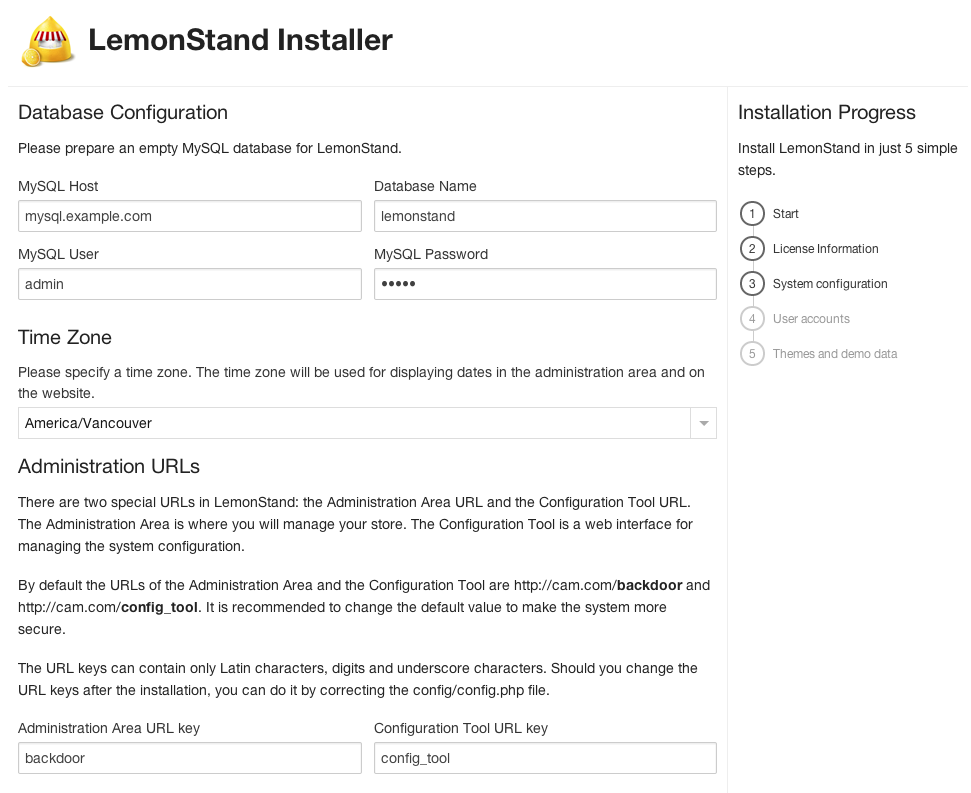
Prepare an empty database. Enter MySQL url (localhost if on local machine). Database name, username, password, time zone.
Next choose admin login urls for backend and config tool. The backend will be where you configure your store, setup products and make changes to the frontend layout.
The config tool URL is used to change your MySQL settings and encryption key.
The login URLs can be changed after the installation in the "config/config.php" file on your server.
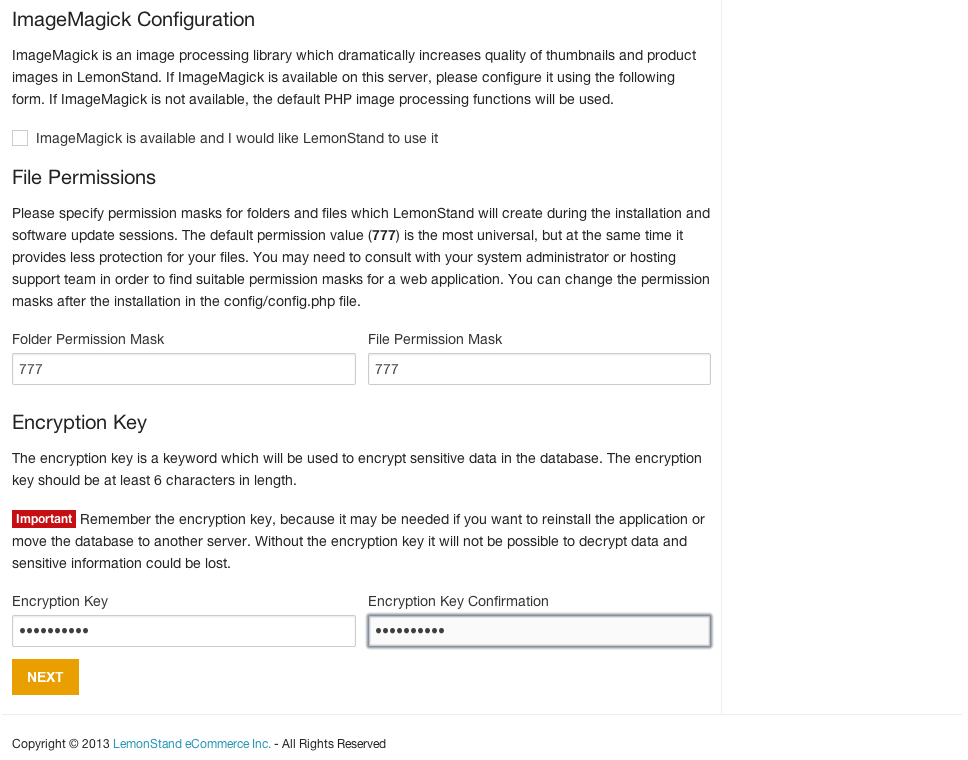
Optional, If you have ImageMagick installed on your server you can enable it here to be used.
Next choose file permissions. Some servers require the index file to have 755 permissions otherwise after the installation you might run into a 500 internal server error. If that happens check out this page.
Lastly set encryption key on this page. It is important to remember this in case you decide to move your site to a new server and you want to keep all your old information.
Click Next to continue
4. User Accounts

Fill out your personal information and backend and config tool login info.
5. Themes and Demo Data

If you are new to LemonStand then it is a good idea to import the Zest demo theme and demo data so you can see examples of how LemonStand works.
Now click install and LemonStand will being importing files and MySQL tables.
6. Installation Complete
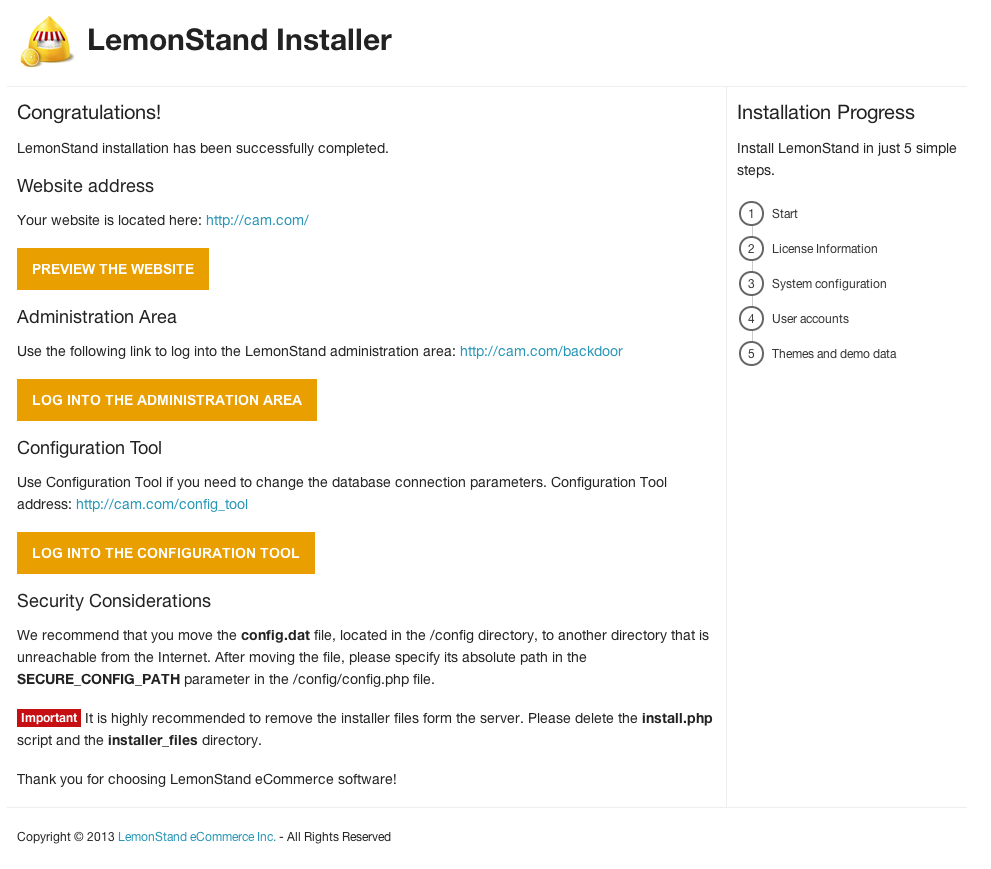
Congratulations, you are done! Go to your admin login URL and sign in to the backend of your LemonStand store.
The next tutorial will show you how to setup your LemonStand store for the first time.
Next: Settings
Previous: Beginner's Guide
Return to Beginner's Guide