LemonStand Version 1 Has Been Discontinued
This documentation is for LemonStand Version 1. LemonStand is now offered as a cloud-based eCommerce platform.
You can try the new LemonStand and learn about upgrading here.
System Users
In the settings page under Users, you can add more users that will have access to the backend of your LemonStand store.
You can setup specific user rights to control who has access to different parts of your store.
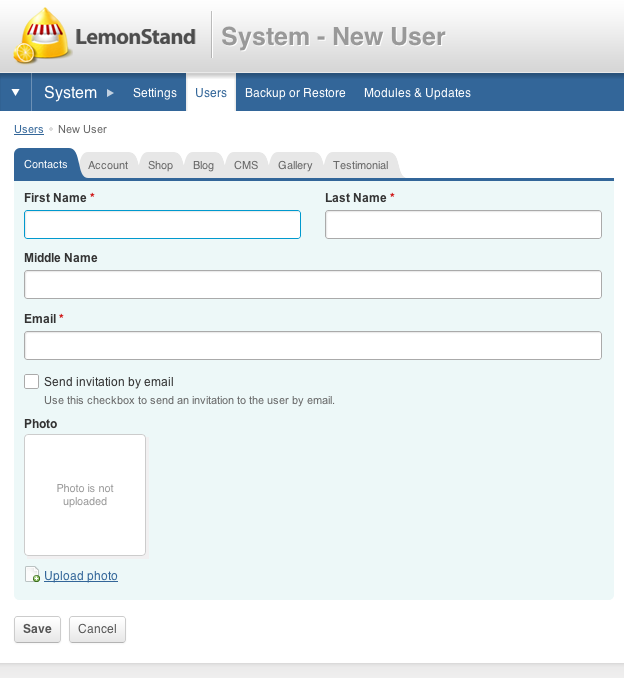
The first tab, Contacts, allows you to set the user's first, last and middle name, Email address and photo.
You can even send an invitation to the user by email by clicking the checkbox.
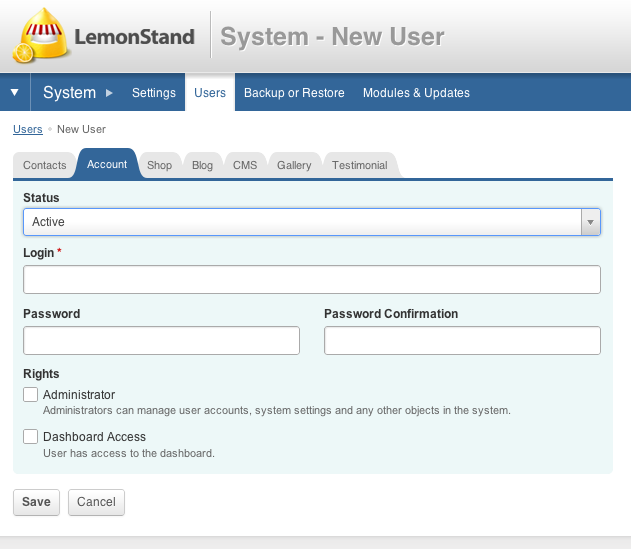
The Account tab allows you to set the user login and password as well as the user's rights.
If you make the user Administrator then they will automatically have all users rights. If not then in the following tabs you can specify which user rights you wish to give them.
If you ever need to deactivate an account, you can do it by changing the user's status from 'Active' to 'Disabled'.
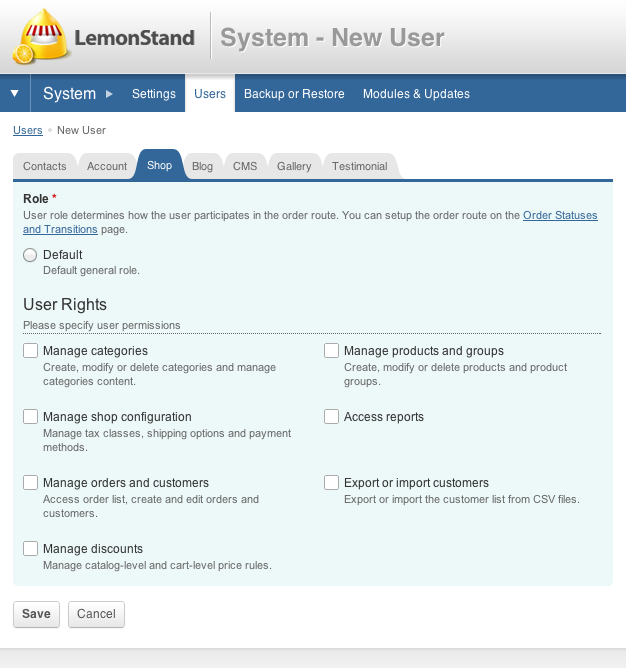
The following allows you to set the users permissions for specifc aspects of the backend of your LemonStand store if the user is not an admin.
Shop Tab, where you can set the user's role and user rights.
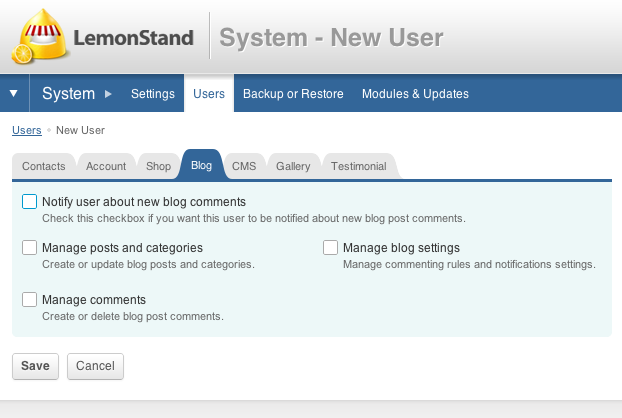
Next is the Blog tab, where you can allow the user to be notified about new blog comments, manage posts and categories, blog settings and comments.
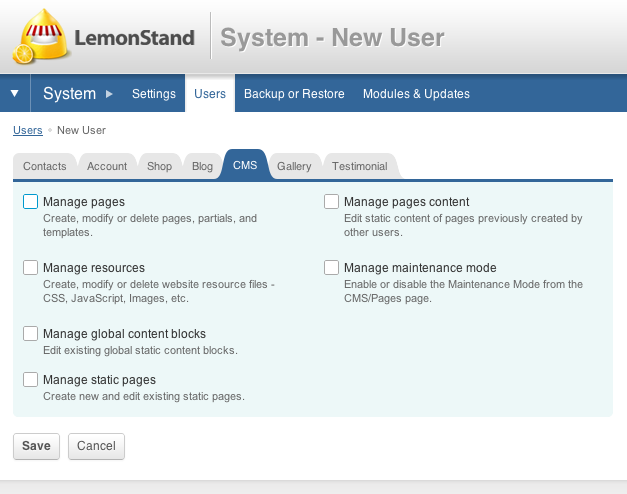
Next is the CMS tab where you can allow the user to manage the pages that make up the frontend of your site. For example this is where you could allow a developers access to the frontend but not to the Customers or Orders pages.
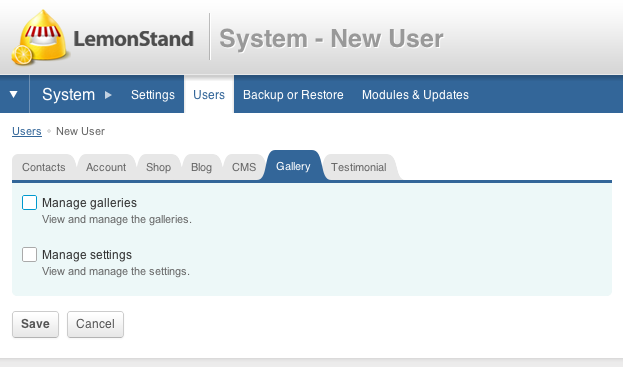
Next is the Gallery tab which is used to set permissions for the Gallery Module
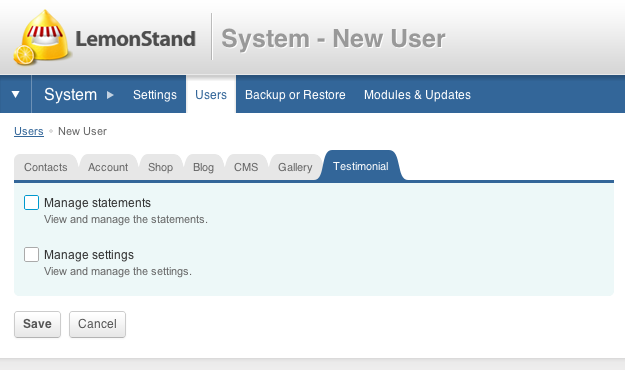
And lastly we have the Testimonial tab which is used to set permissions for the Testimonial Module
The next tutorial will show you how to install modules and keep your store up to date with the latest LemonStand released and fixes.
Next: Modules and Updates
Previous: Settings
Return to Beginner's Guide


